I bought an HP EX485 MediaSmart Server years ago. I was working at Microsoft at the time and it ran Windows Home Server, so I thought I should support the home team and try it out. It worked well for storing photos, home videos, etc. When the next version of Windows Home Server was released, I upgraded. Eventually I left Microsoft and Microsoft stopped supporting Home Server. I’ve always been somewhat of a Linux enthusiast, so I figured installing Linux on it would be a good way to get back into Linux again. I kept it running for a year or so, but eventually I needed one of the disks out of it for something else and it sat idle. Lately, I’ve been hearing a lot about FreeNAS and I thought maybe I could resurrect this hardware once again.
I’m not sure if this will work with other similar models, so tread carefully if you don’t have the same hardware I do. I’m using a Linux desktop machine to to set things up. You’ll need an 8GB USB flash drive and the FreeNAS ISO image.
Instead of writing the ISO out to a CD or USB drive, I used QEMU to boot the ISO image and install to my USB drive:
sudo qemu-system-x86_64 -boot d -cdrom ~/Downloads/FreeNAS-9.10.1.iso -m 2048 -hda /dev/sdc
Where /dev/sdc is the device name for my USB flash drive. You should be able to figure out the device name by plugging the device in and then typing mount in a shell and looking for something like this:
/dev/sdc1 on /media/mark/A0FE3089FE3059AC type fuseblk (rw,nosuid,nodev,relatime,user_id=0,group_id=0,default_permissions,allow_other,blksize=4096,uhelper=udisks2)
Once QEMU boots, you’ll see the boot loader screen:
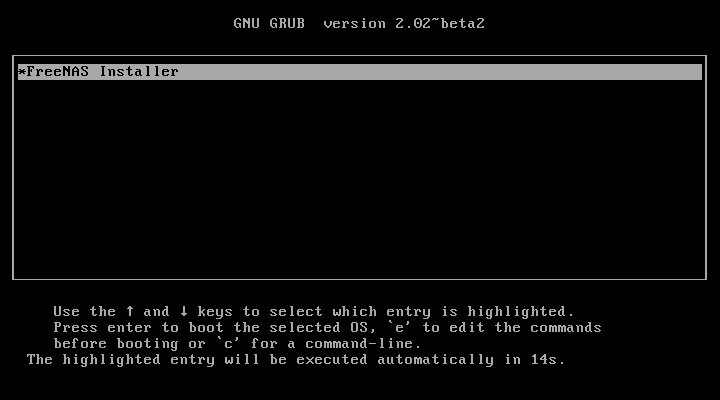
Either hit <enter> or wait a bit and it will start up the installer.
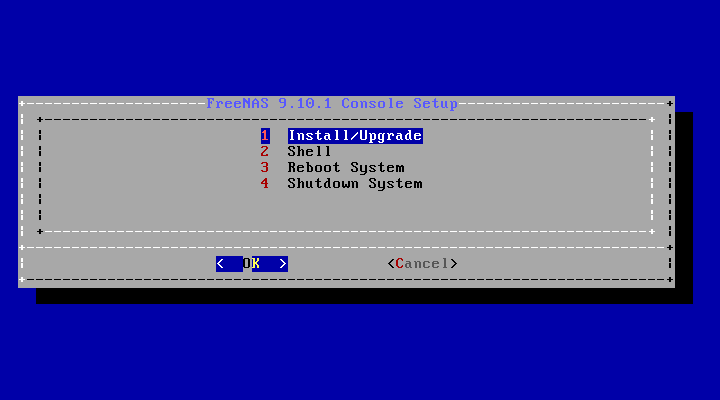
Once the screen above is loaded, be sure Install/Upgrade is selected and hit <enter>.
After some time and a lot of text scrolling by, the install will finish. Select Shutdown System and wait for QEMU to halt.
Eject the USB drive, plug it into the back USB port on the EX485 and power it up. You’ll have to check your router to see what IP address it was assigned. Once you figure that out, visit the address in your browser to configure your FreeNAS system. If you need some help, visit the FreeNAS Documentation site.